Deploy to Contember Cloud
This guide will take you through the deployment of Contember from your local machine to the Contember Cloud.
Before you start
You should have a project on your machine - complete quickstart tutorial or use one of our ready-made starter-kits.
1. Setup project in Contember Cloud
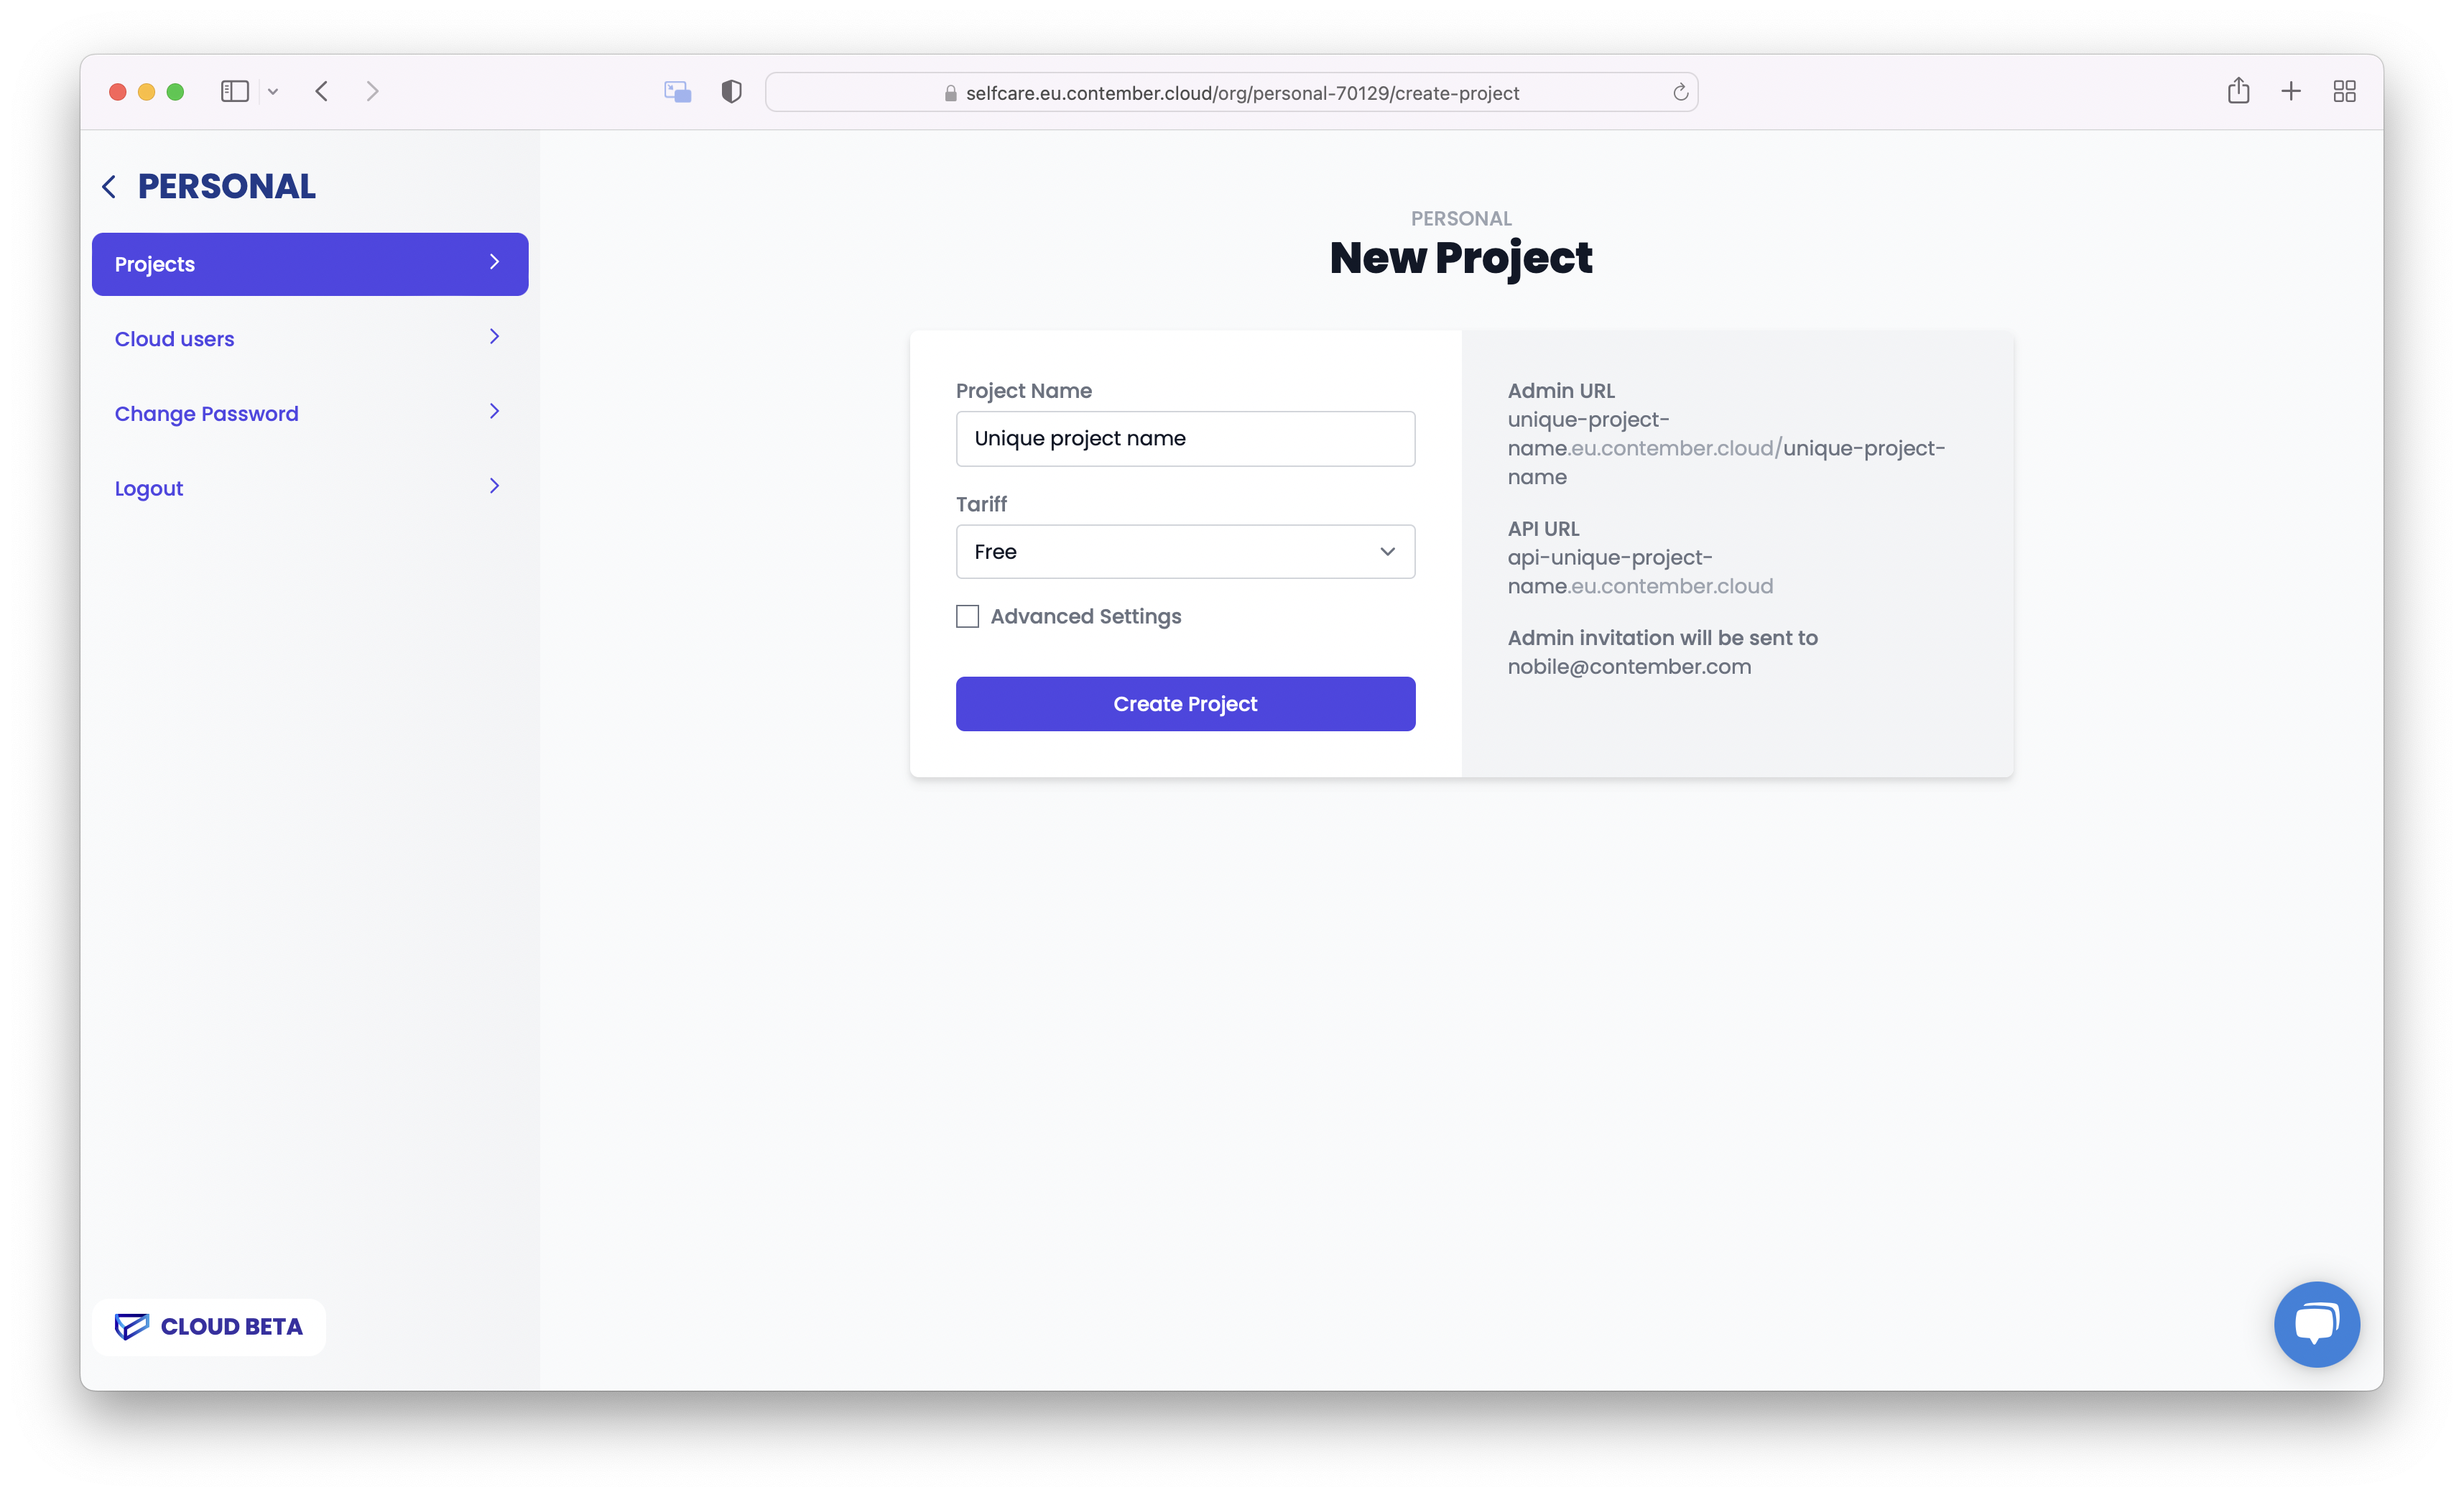
Go to https://contember.cloud and create an account if you don't have one. After sign up create your first project. Choose a unique name for it.

You should receive an email with a link to sign into administration. You don't need it right now - we will come back to it.
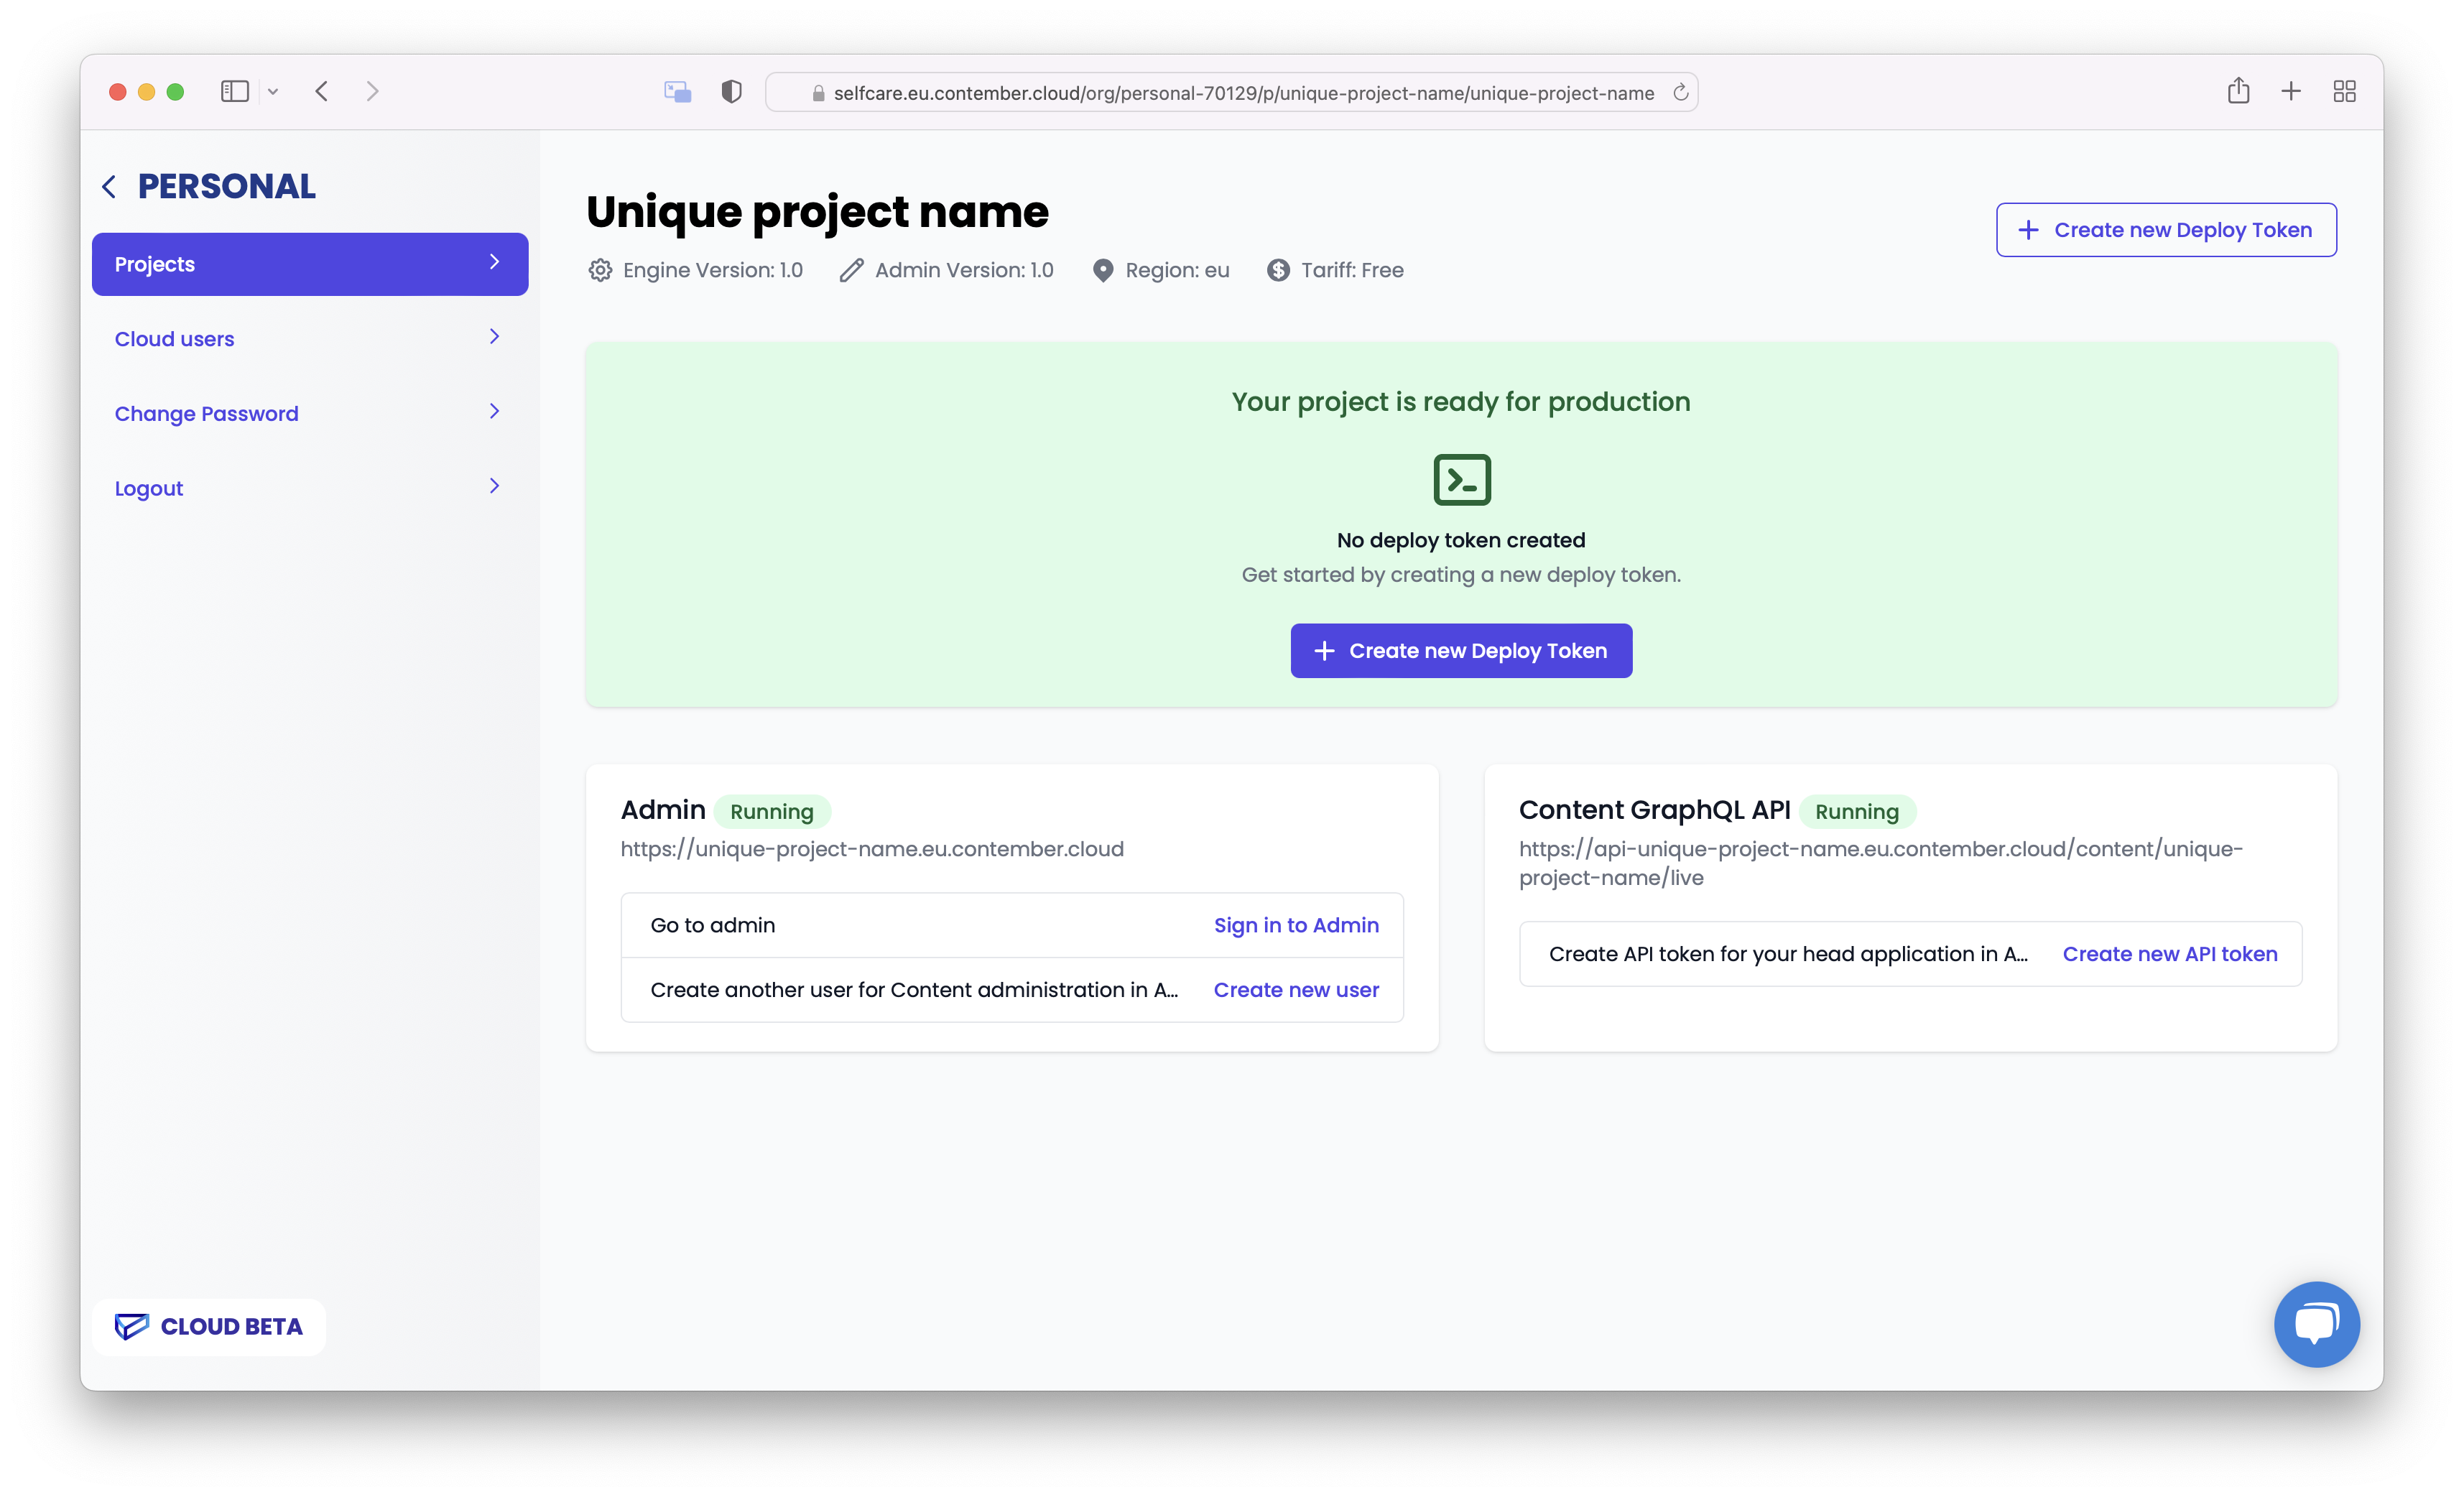
On your project's page in Contember Cloud console click on a "Create new deploy token" to create a deploy command with your deploy secret token.

It will look something like this:
npm run deploy contember://example:4faef77592845fbeaf390c5e86989b1ea493e5d0@example.eu.contember.cloud
2. Deploy
Copy it and run this command in your project's directory. It will build your project, package the assets and prompt you to confirm details - type y (for "yes") to continue. We will apply your project's schema and copy the administration's assets.
$ npm run deploy contember://example:4faef77592845fbeaf390c5e86989b1ea493e5d0@example.eu.contember.cloud
...
Deployment successful
3. Sign in to the administration
When you created the project, you received an email with a link to create an administration account. This account is separate from your Contember Cloud console account.
Next steps
You can change your local project however you like, it's completely independent from the deployed version. After you make any changes in the project's code, test it locally and are ready to deploy it, build it and deploy it again as we did in steps two and three.
You can also setup deployment from GitHub Actions.
Troubleshooting
If you encounter a problem, feel free to open an issue on GitHub. Don't forget to attach screenshots and terminal output.